
DIY Bleach Tie Dye Tutorial
Would you ever guess I made this outfit and it cost less than $20?
My future sister in law showed up to happy hour in a cute black tie dye set; I would never have guessed she did it herself. I assumed this would be a super annoying, messy and difficult project but Laura assured me it was not. So, I was rather easily influenced and quickly jumped on the DIY bandwagon. I ordered the same Hanes Amazon sweatshirt and sweatpants in dark gray that same day. I attempted the task during the boys’ nap time/quiet time last weekend and I was literally wearing the matching set before Jack woke up. Megan couldn’t believe it.

Laura explained to me how she did it but when I looked online I found directions that had even less steps and went for it. I mean, the entire set cost about $20 and I don’t leave the house except to go to my sisters so does it really matter if it looks like my child did it?
Heres what you’ll need:
- Hanes Sweatshirt and Sweatpants
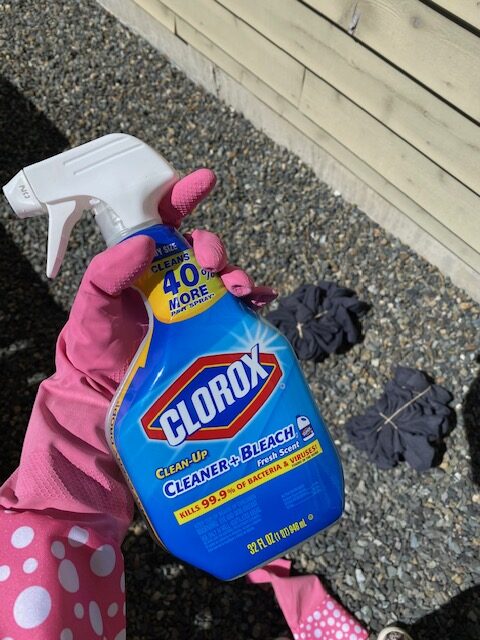
- Clorox Bleach Spray
- Rubberbands
- Rubber gloves
- Laundry Detergent
Directions:
- Lay the sweats and sweatshirt out on gravel or another surface you don’t care about and scrunch (watch this video for scrunch technique).
- Per Laura’s directions, rubber band the sweats and sweatshirt so it stays scrunched (see picture below).
- Put on rubber gloves and spray. Spray more than you think you should. Flip over and spray some more.
- It starts working immediately but let dry for 8 to 10 minutes.
- Unfold and see if you like the way it looks (I didn’t do it enough the first time on my sweatshirt so I did it once more).
- Wash and dry! FYI I read not to let the bleach sit for TOO long because it could ruin the clothing. Also, I went up 1 size in the sweatshirt because I wanted an oversized look/feel and it SHRUNK a ton and is no longer oversized. I recommend sizing way up in sweatshirt but size down in sweatpants.


This was so simple and turned out way better than I expected! So, naturally, I ordered a few more and have some more DIY in my future. Taking orders now ;)!