
Golf Picnic Date Night

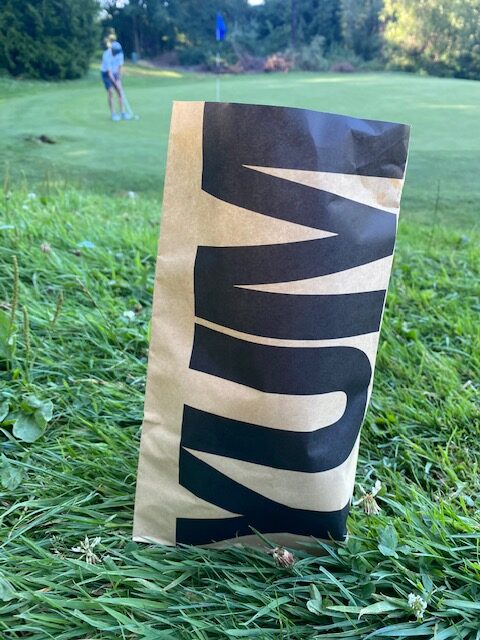
“Oh you are golfing again? I’m coming!” And by golfing I mean driving around in a golf cart on a sunny evening drinking a cold glass of Washington wine and eating a yummy (and cute to boot) pressed Italian picnic sandwich.
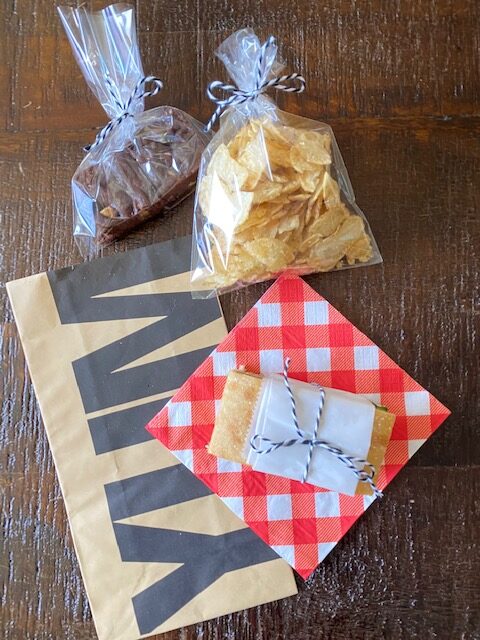
I don’t golf but after this lovely evening I’m thinking I should! When our husbands said they were going golfing again, my girlfriend and I decided it was time for us to join them. Given the times and lack of food options at this course, I decided to pack a little picnic for each couple. These are tasty and pretty sandwiches, perfect for a picnic or as it turns out, a golf date night. They are made in advance and ideal for Summer entertaining at a distance, as they are such pretty little packages that don’t require any plates!
Moral of the story, next time your hubby says he’s going golfing – grab a bottle of wine and join him! It ended up being such a fun evening outside the house (and those are rare these days)! Plus if you pack these Italian pressed sandwiches and brownies he might just invite you to join him again ;).


Pressed Italian Picnic Sandwiches
Ingredients
- 1 Ciabatta Baguette (cut in half to make approx. two 12-inch pieces)
- 3 Tbsp butter
- 1 jar roasted peppers
- 3 cups arugula
- 1 ball mozzarella, sliced
- 10 oz Assorted Italian deli meats (I used Soppressata Salami, Genoa Salami, and Ham)
- Balsamic Vinegar
- Salt and Pepper, to taste
Directions
- Cut your ciabatta in half and butter each piece (butter will help prevent moisture from getting into the bread. Place a generous layer of cold meats (4-5 over-lapping layers). Top with roasted red pepper strips. Take your mozzarella slices and place on a piece of paper towel. Top with another piece of paper towel and pat to dry a bit. Top the red peppers with a layer of the mozzarella slices. Drizzle some balsamic vinegar over the cheese and sprinkle with salt and pepper. Top with a generous layer of arugula. Top with top slice of ciabatta.
- Wrap each sandwich tightly with plastic wrap and place on a platter or baking sheet. When all the sandwiches are prepared, place the platter in the refrigerator. Place a heavy skillet on top of sandwiches to apply weight.
- Refrigerate at least 6 hours or ideally, overnight.
- When ready to serve, remove from plastic wrap. Trim the sides and ends of the sandwiches to make cute little sandwiches and wrap with parchment paper and string.
Recipe adapted from Seasons and Suppers